Templates and dashboards
Set how the detail page of a tender is laid out for your organization, and use the presentation that goes with it.
A dashboard sets how the detail page of a tender looks for your organization: which sections sit in which column. Every dashboard is based on a template, the basic layout procuris supplies. You see the result day to day on the detail page, which you open with More Details in the preview or with View full details on a Pipeline card. You manage dashboards in the sidebar under Organization › Templates.
The four templates
The templates differ in how the columns are split and in the order of the sections. The content of the sections is the same in all four. The app calls the columns Lanes, and the overview shows their width in percent, such as 75 / 25.
| Template | Lanes | Left | Right |
|---|---|---|---|
| Review | 75 / 25 | Overview, Description, Requirements, Lots, Award, Tender documents | Market analysis, Similar tenders |
| Cross-read | 50 / 50 | Overview, Description, Requirements, Tender documents | Lots, Award, Market analysis, Similar tenders |
| Workbench | 25 / 75 | Overview, Tender documents, Lots | Requirements, Award, Description, Market analysis, Similar tenders |
| Sheet | 100, one column | all sections one below the other, in the order of Review | none |
Above all columns sits the header with title and actions such as Export and Presentation. It is the same in every template and cannot be replaced. On narrow screens, the columns stack.
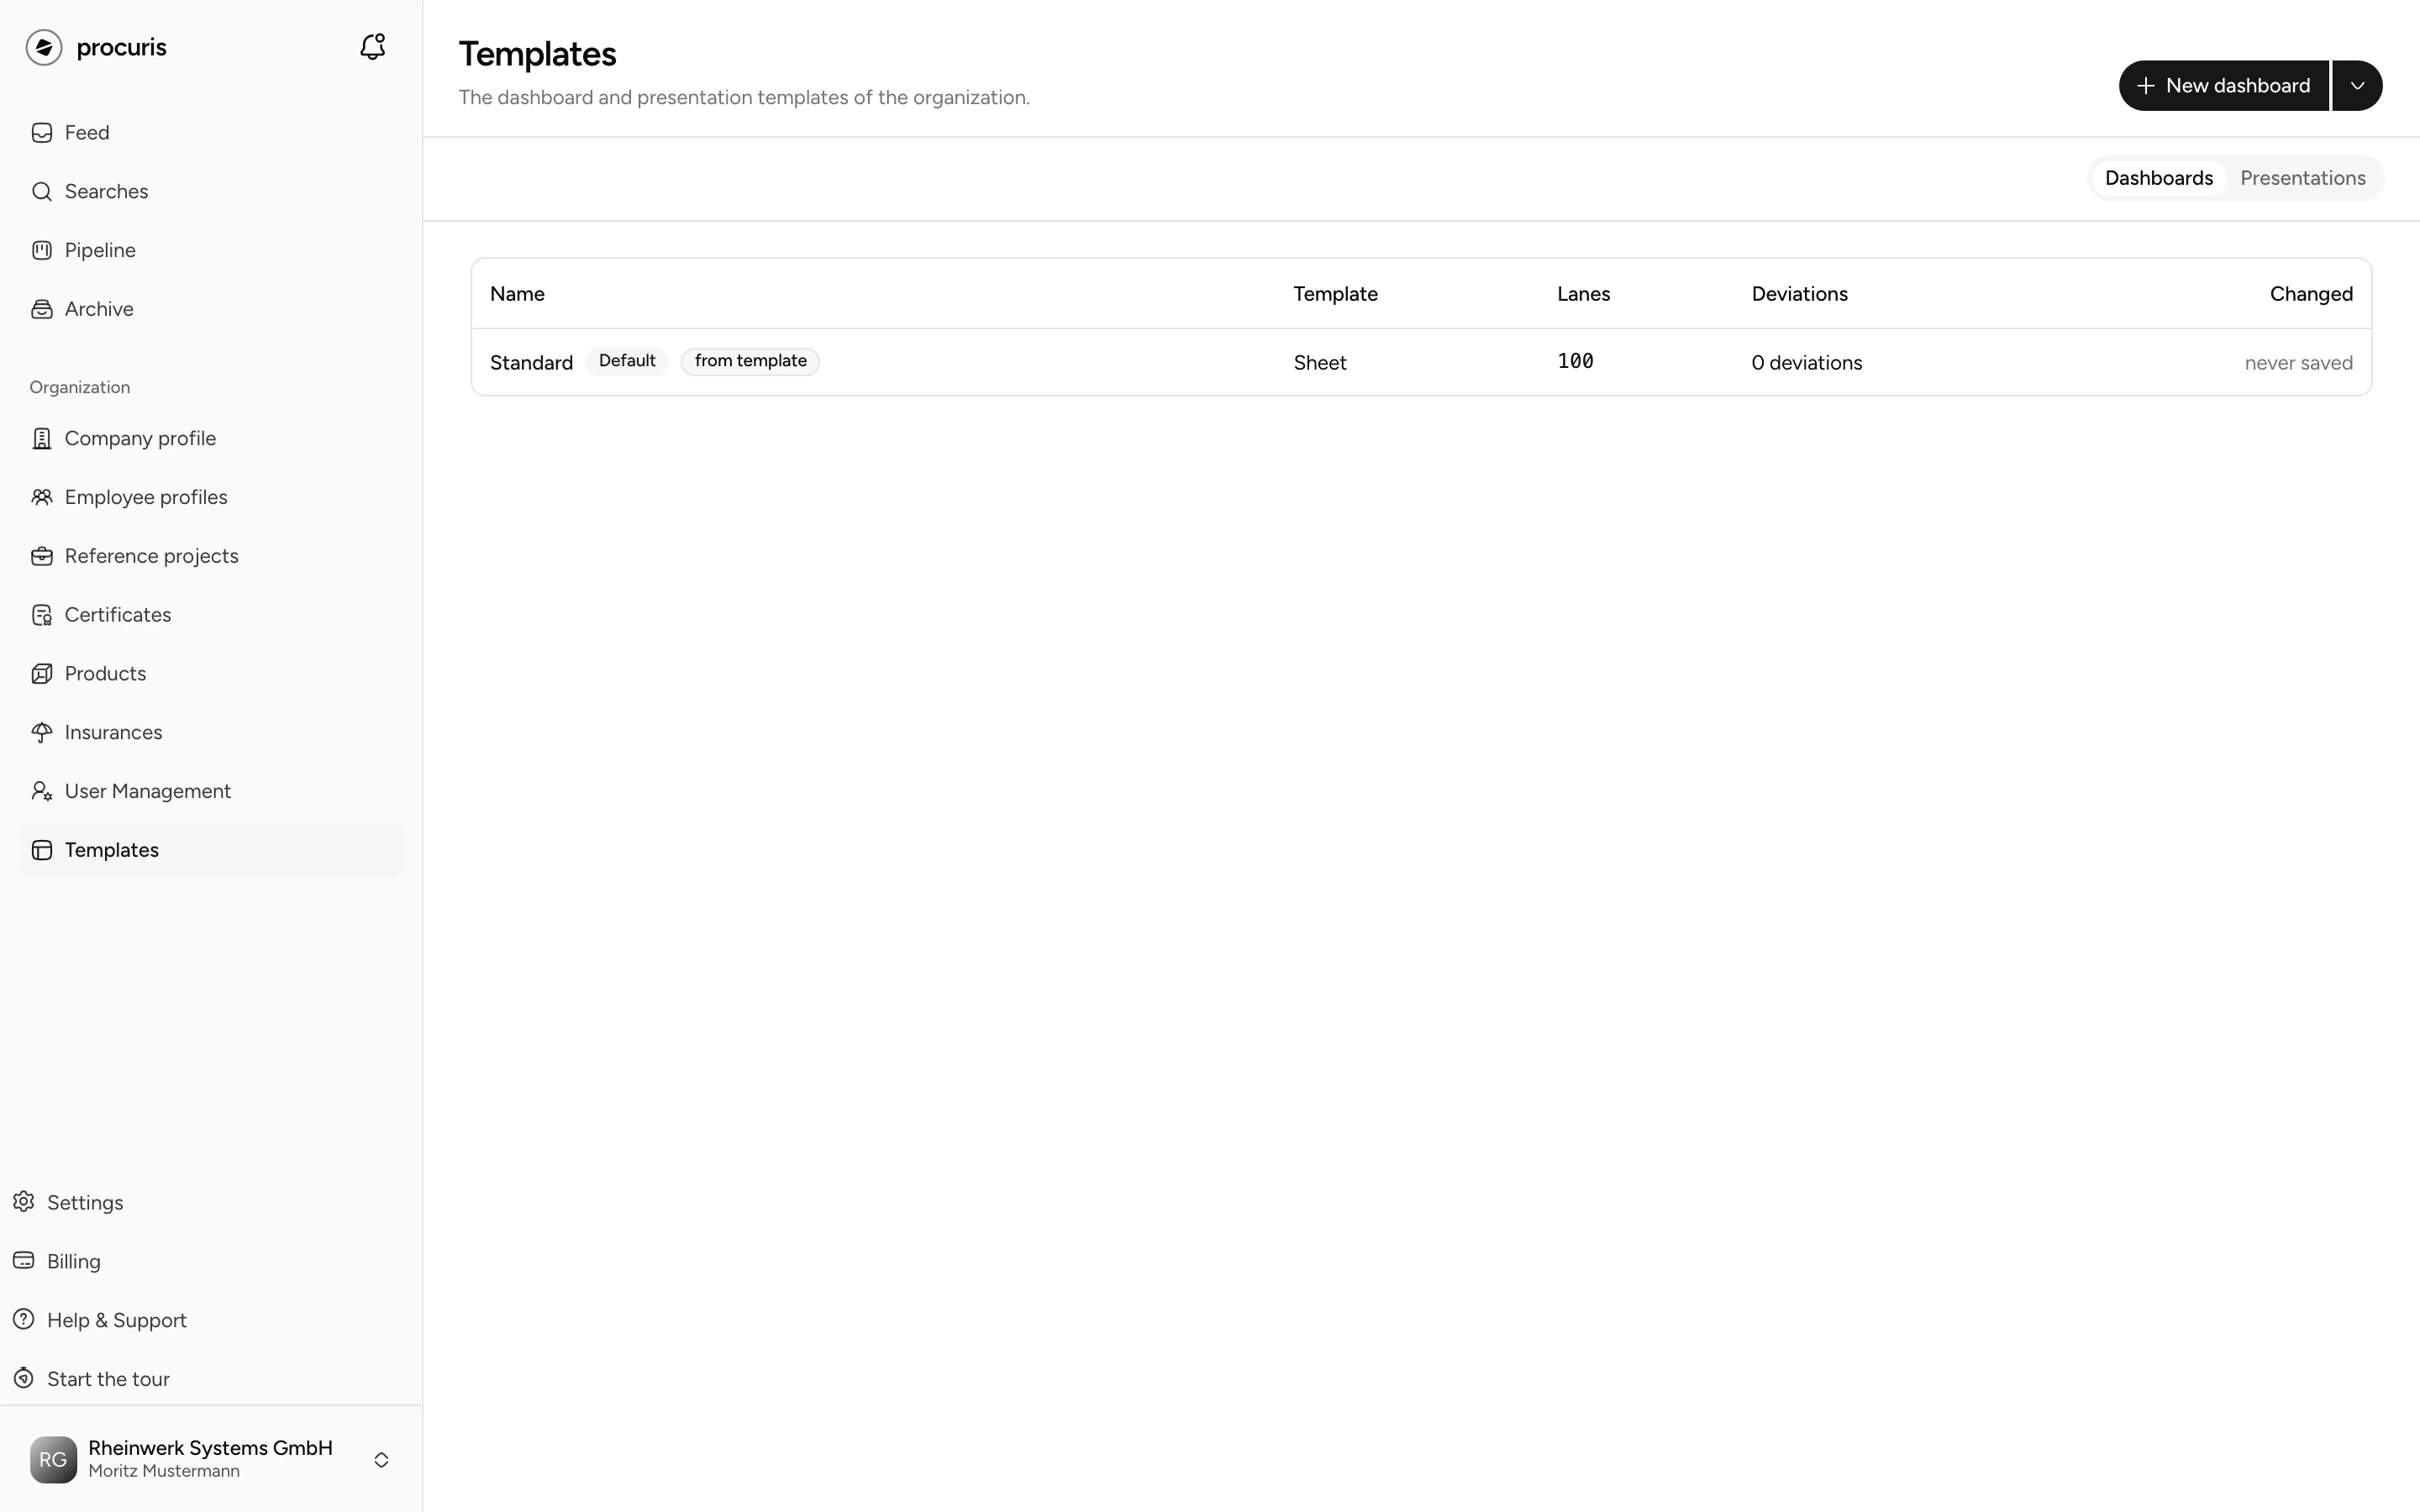
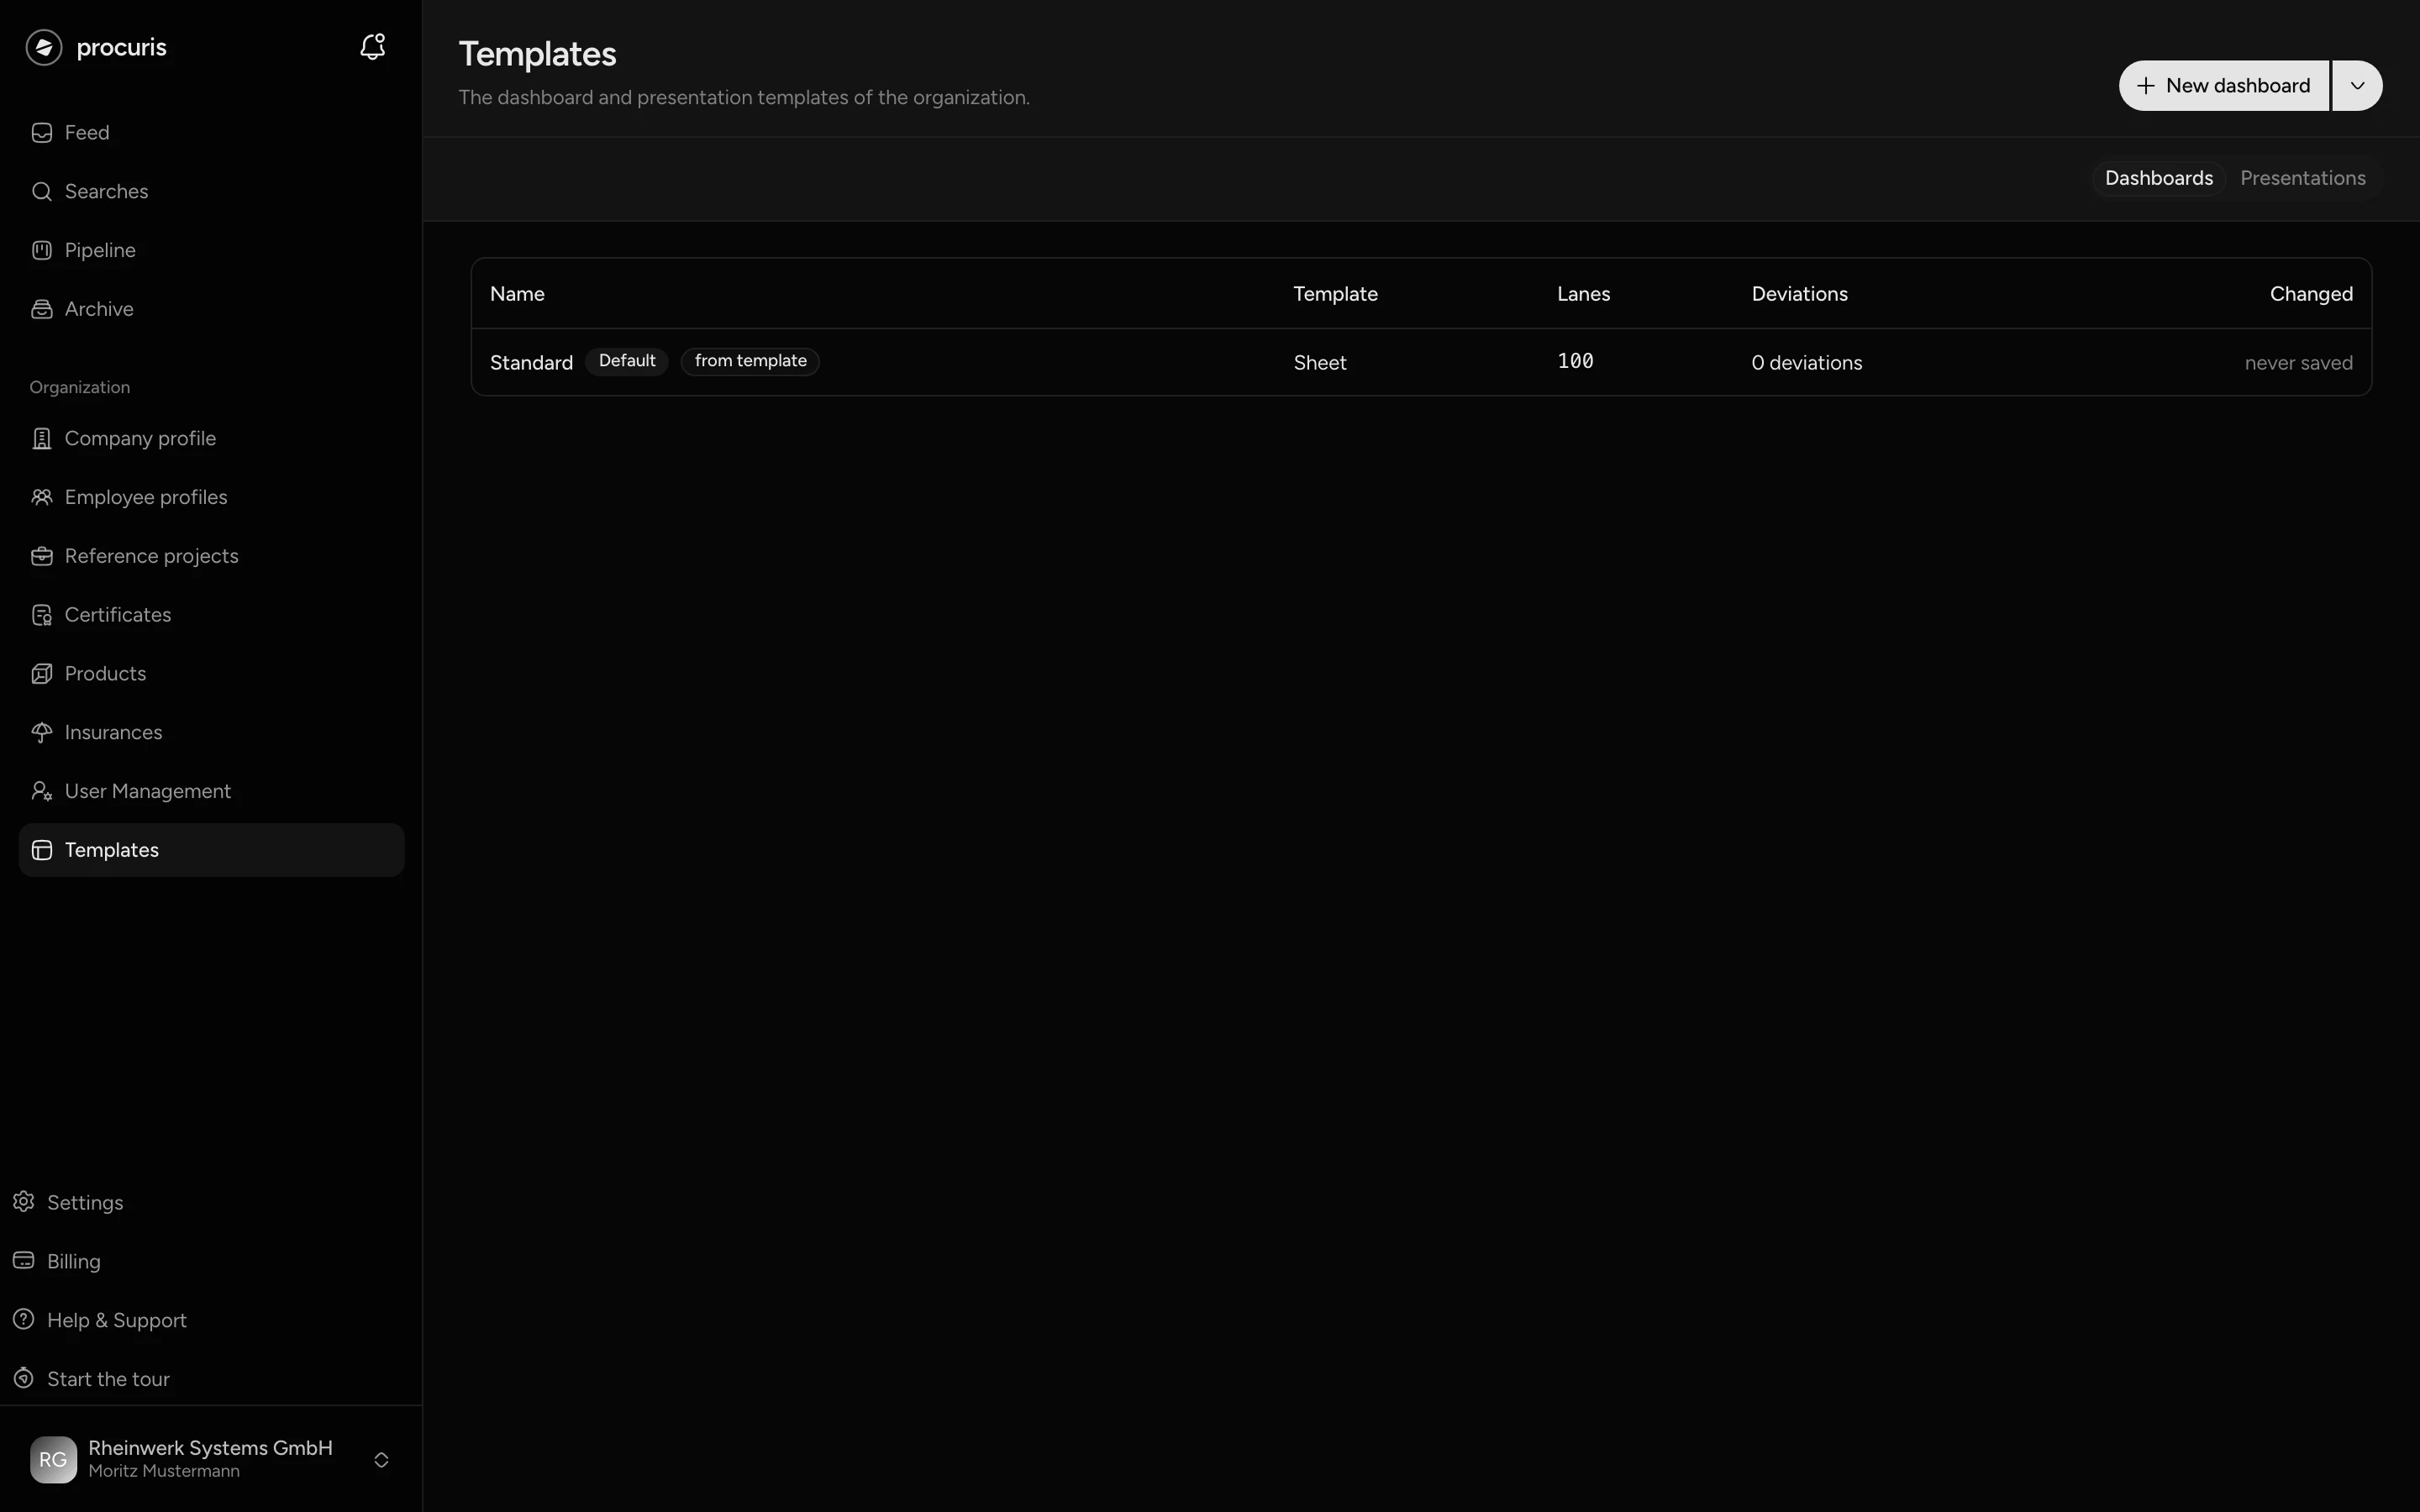
If your organization has not saved a dashboard yet, Review applies. The overview shows this as the row Standard with the badges Default and from template and the note never saved.
Create a dashboard
From Pro
You create your own dashboards from Pro on and during the Pro trial. On Free, the standard dashboards stay usable. Save opens the window Custom dashboards not in your plan with Upgrade to Pro there, and nothing is saved. This applies to new and changed dashboards and to a new default. Delete works on Free too, for example for a dashboard from the Pro trial.
Open Templates in the sidebar under Organization. The Dashboards tab is preselected.
Click New dashboard at the top right. To start from the standard, click the name Standard in the list instead. Then Review is already chosen, the name Standard is filled in and the dashboard is marked as default.
Enter a name under Name, for example "Review Sales", or change the one filled in. Without a name, the dashboard cannot be saved.
Choose the split under Template. The width of the lanes appears next to each name.
Swap the components you want different in the Grid. How that works is in the next section.
Click Preview. Under Preview on a tender, you see the dashboard on a real tender, first on the first card of your Pipeline. You search for another one under Tender by title or contracting authority, from three characters.
Tick Organization default if the detail page should show this dashboard. Click Save.
The app then reports "Dashboard saved." and returns to the overview. The list shows for each dashboard Name, Template, Lanes, Deviations (how many places differ from the template) and Changed. Clicking the name opens the dashboard for editing again.
Swap components in the grid
The Grid on the left shows the places of the template, which the app calls slots. On the right, under Components, are the building blocks that fit into a slot. Every component fits every replaceable slot. The legend above the grid distinguishes three states:
- assigned: you placed a component here.
- Template default: this shows what the template provides.
- Empty: an empty position. Each lane has at least eight positions, and the sections of the template fill the first ones. An empty position shows nothing on the detail page until you place a component in it.
To place a component, click a slot in the grid. The right side then lists the components built for this slot with the matching badge at the top, the others below. Click Assign on a component or drag the card onto any slot. Use the Search field to find components by name or slot. Details on a component shows it with sample data.
You return to the template with Back to the default, with the cross in the slot or by dragging the card back into the list. The grid shows the header as locked. You do not delete a section of the template. You replace it with another component or choose a template with a different order.
| Component | Default in section | Shows |
|---|---|---|
| Facts grid | Overview | buyer, estimated value, dates, publication date, term, place of performance, classification |
| Description as paragraph | Description | what is being procured |
| Requirements by evidence type | Requirements | requirements grouped by references, certificates, revenue and other kinds of proof |
| Requirements as cards in the tree | none, alternative | the same top-level requirements as cards |
| Lots as rows | Lots | lots with their period of performance |
| Weight bar per lot | Award | weighting of the award criteria per lot |
| Documents as flat list | Tender documents | files to download |
| Density curve and awards | Market analysis | value distribution of comparable procedures and award winners |
| Similar as rows | Similar tenders | comparable tenders with their match in percent |
What each section means is explained in Tender in detail.
Share a dashboard with the team
Dashboards belong to the organization, not to a person. There is therefore no separate step to share them. The dashboard with the Default badge applies on the detail page for everyone in your organization as soon as you have saved it.
- Exactly one default. If you tick another dashboard and save, the previous one loses the badge. The first dashboard your organization saves becomes the default without the tick.
- Other dashboards stay in the list and wait there. The detail page only shows the default. To switch, make another dashboard the default.
- Delete sits at the top of the opened dashboard next to Cancel, only after it has been saved once. After the Delete dashboard confirmation, it is gone. If it was the default, the detail page shows Review in its standard form again until you set a new default.
All three roles, Owner, Administrator and Member, create, change, make default and delete dashboards, on Free only delete (see above). There is no setting that limits this to certain people. User management explains the roles themselves.
Presentation
The Presentation shows a tender as a full-screen slide deck, for example for the meeting where you decide on Bid or No-Bid. You open it on the detail page at the top right with Presentation. In the Presentations tab under Templates, you see which slides it contains. Slides and order are set by the Bid deck template. The New presentation button in this tab is greyed out: you do not create a presentation template of your own.
| Slide | Content |
|---|---|
| Overview | key figures Contract value, Submission, Award criteria and Required |
| Concepts | requirements that count in the evaluation |
| Evidence | required certificates, insurances, revenue, references and security clearances |
| Expert profiles | requirements for staff and experience and for team size |
| Timeline | dates of the procedure on a time axis, from Questions close to Start of work |
You page left and right with the arrow keys. F toggles full screen, Esc closes the presentation. The bar at the bottom lists every slide as a button and has Full screen and Close. If a slide lacks a detail in the notice, it states the reason, such as "No contract value in the notice."
The requirement slides distinguish two cases. If no requirements are recorded in the workbook yet, the slide shows "No requirements recorded yet.", and it fills once you have recorded the requirements. If the tender asks for nothing of this kind, the slide says so, such as "This tender requires no Evidence."
At the top right of the slide are No-Bid and Bid. Your decision lands in the same place as on the detail page. You can only record a Bid for tenders that sit as a card in the Pipeline.